Lara Yaross Art Shop
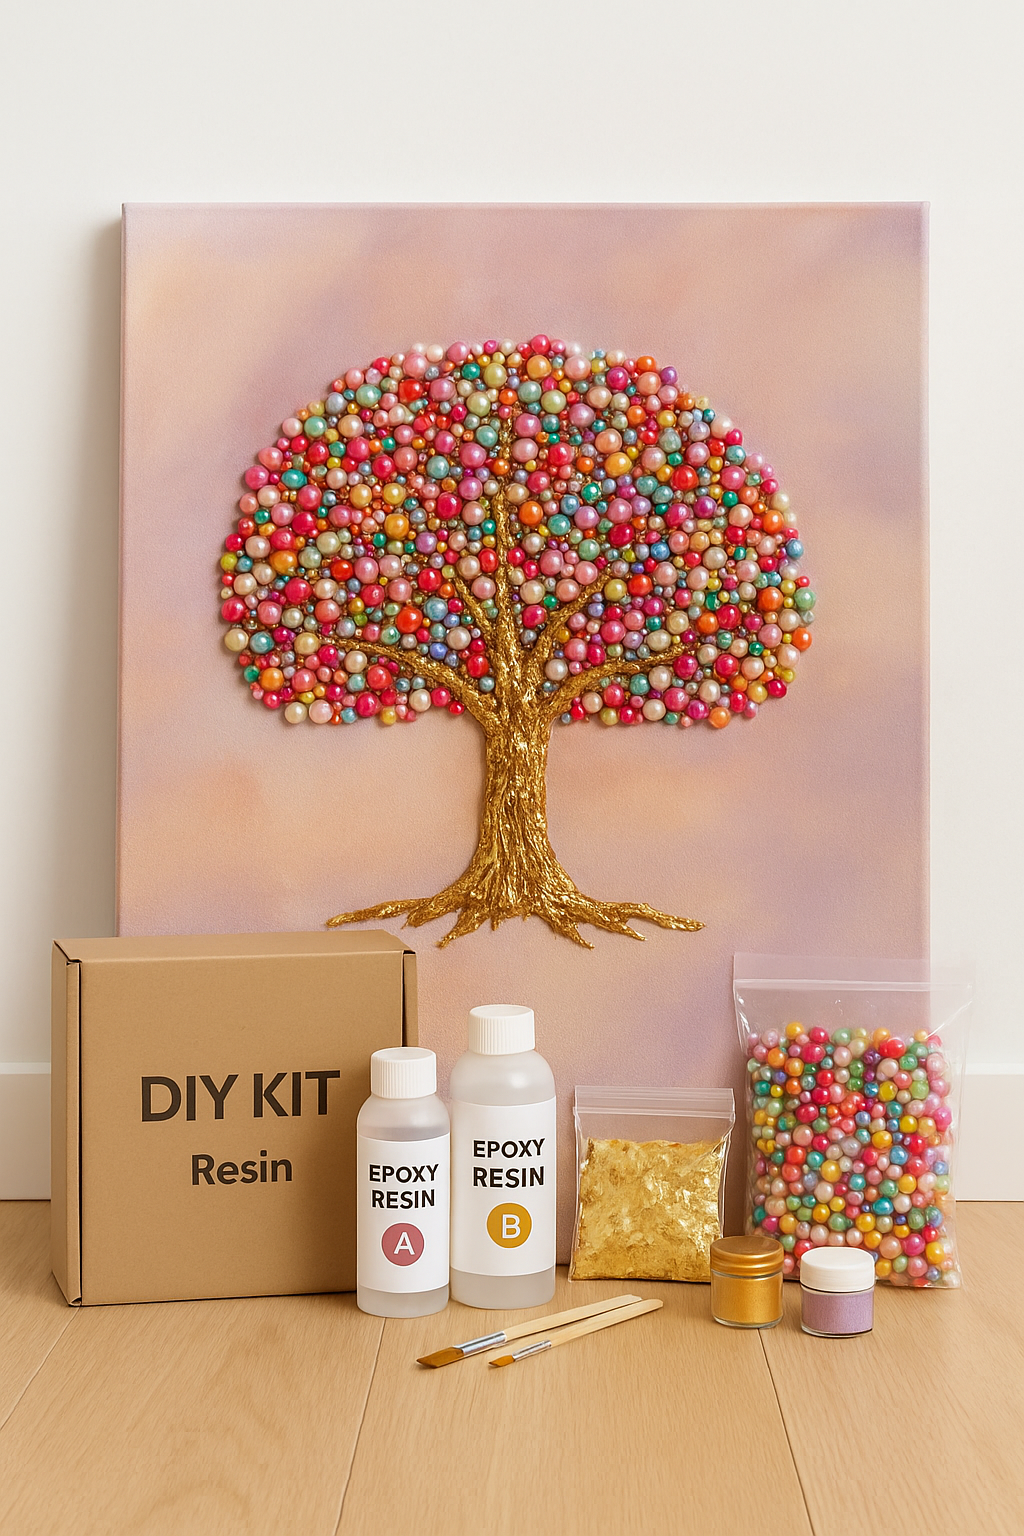
Tree of life - Intermediate Course
Tree of life - Intermediate Course
Couldn't load pickup availability
Module 1: Canvas Preparation & Layout (Video: ~30 min)
Begin by designing your composition and preparing a strong surface that can support the weight of resin and crystals.
Steps:
- Select a 70×70 cm wood panel (min. 15 mm thick)
- Prime and seal the wood to prevent absorption
- Sketch your advanced tree structure: roots, trunk, branches, symbolism zones
- Decide on focal areas for gemstones (heart, chakras, roots, crown)
- Use tape or 3D paste to block areas for inlay
Module 2: Base Resin Layers (Video: ~35 min)
Lay the foundation of your work using colored resin, layered swirls, and metallic pigments to give the background depth and movement.
Steps:
- Mix 2–3 background colors (earth tones, cosmic blends, etc.)
- Pour and blend in 2 sessions with partial curing in between
- Add metallic powder veins using a brush or stick
- Optional: embed soft minerals like mica or gold flakes in first pour
Module 3: Building the Tree & Inlay Channels (Video: ~40 min)
Sculpt the tree using 3D gel or epoxy clay, then carve out or raise inlay channels for gemstones.
Steps:
- Use texture paste or epoxy clay to sculpt trunk and branches
- Define flow and movement with curves, spirals, or sacred geometry
- While soft, press in placeholders for crystals (masking stones)
- Create raised or recessed paths to fill with crushed stones later
- Cure fully before moving to next resin layer
Module 4: Gemstone Inlay & Resin Embedding (Video: ~40 min)
Place your gemstones and crystal inlays with care and seal them in clear resin for dimensional, luxurious effect.
Steps:
- Place stones like amethyst, quartz, pyrite, jasper into designated zones
- Use clear or slightly tinted resin to secure them layer by layer
- Work slowly to avoid flooding details
- Use tweezers for small accents and beads
- Optional: add symbolism charms (moon, sun, lotus, eye)
Module 5: Finishing Techniques & Framing (Video: ~25 min)
Polish your piece to perfection and prepare it for hanging, framing, or gallery display.
Steps:
- Sand and clean resin edges and doming areas
- Add high-gloss resin topcoat (final layer)
- Polish with micro-abrasives and buffing pads
- Frame in shadow box or attach metal hanging system
- Photograph and sign your finished work
Module 6: Presentation & Pricing (Video: ~15 min)
Learn how to title, price, and present your artwork for clients, collectors, or exhibitions.
Steps:
- Write a symbolic description of your piece
- Determine pricing based on materials and time
- Package securely for shipping or local delivery
- Offer a certificate of authenticity
- Optional: prepare for gallery submission or custom order listing
Resources & Printables
Helpful tools and templates for advanced resin art projects.
Included:
- Gemstone Symbolism Guide (PDF)
- Inlay Planning Sketch Sheet (printable)
- Budget & Material Tracker (editable)
- Resin Mixing Ratio Chart
- Certificate of Completion (customizable)
Details of the new and improved intermediate course program, along with the grand sale, will be announced soon. Please subscribe and join my Art Circle newsletter.
Share